Don't settle for 20 games when you can have hundreds!
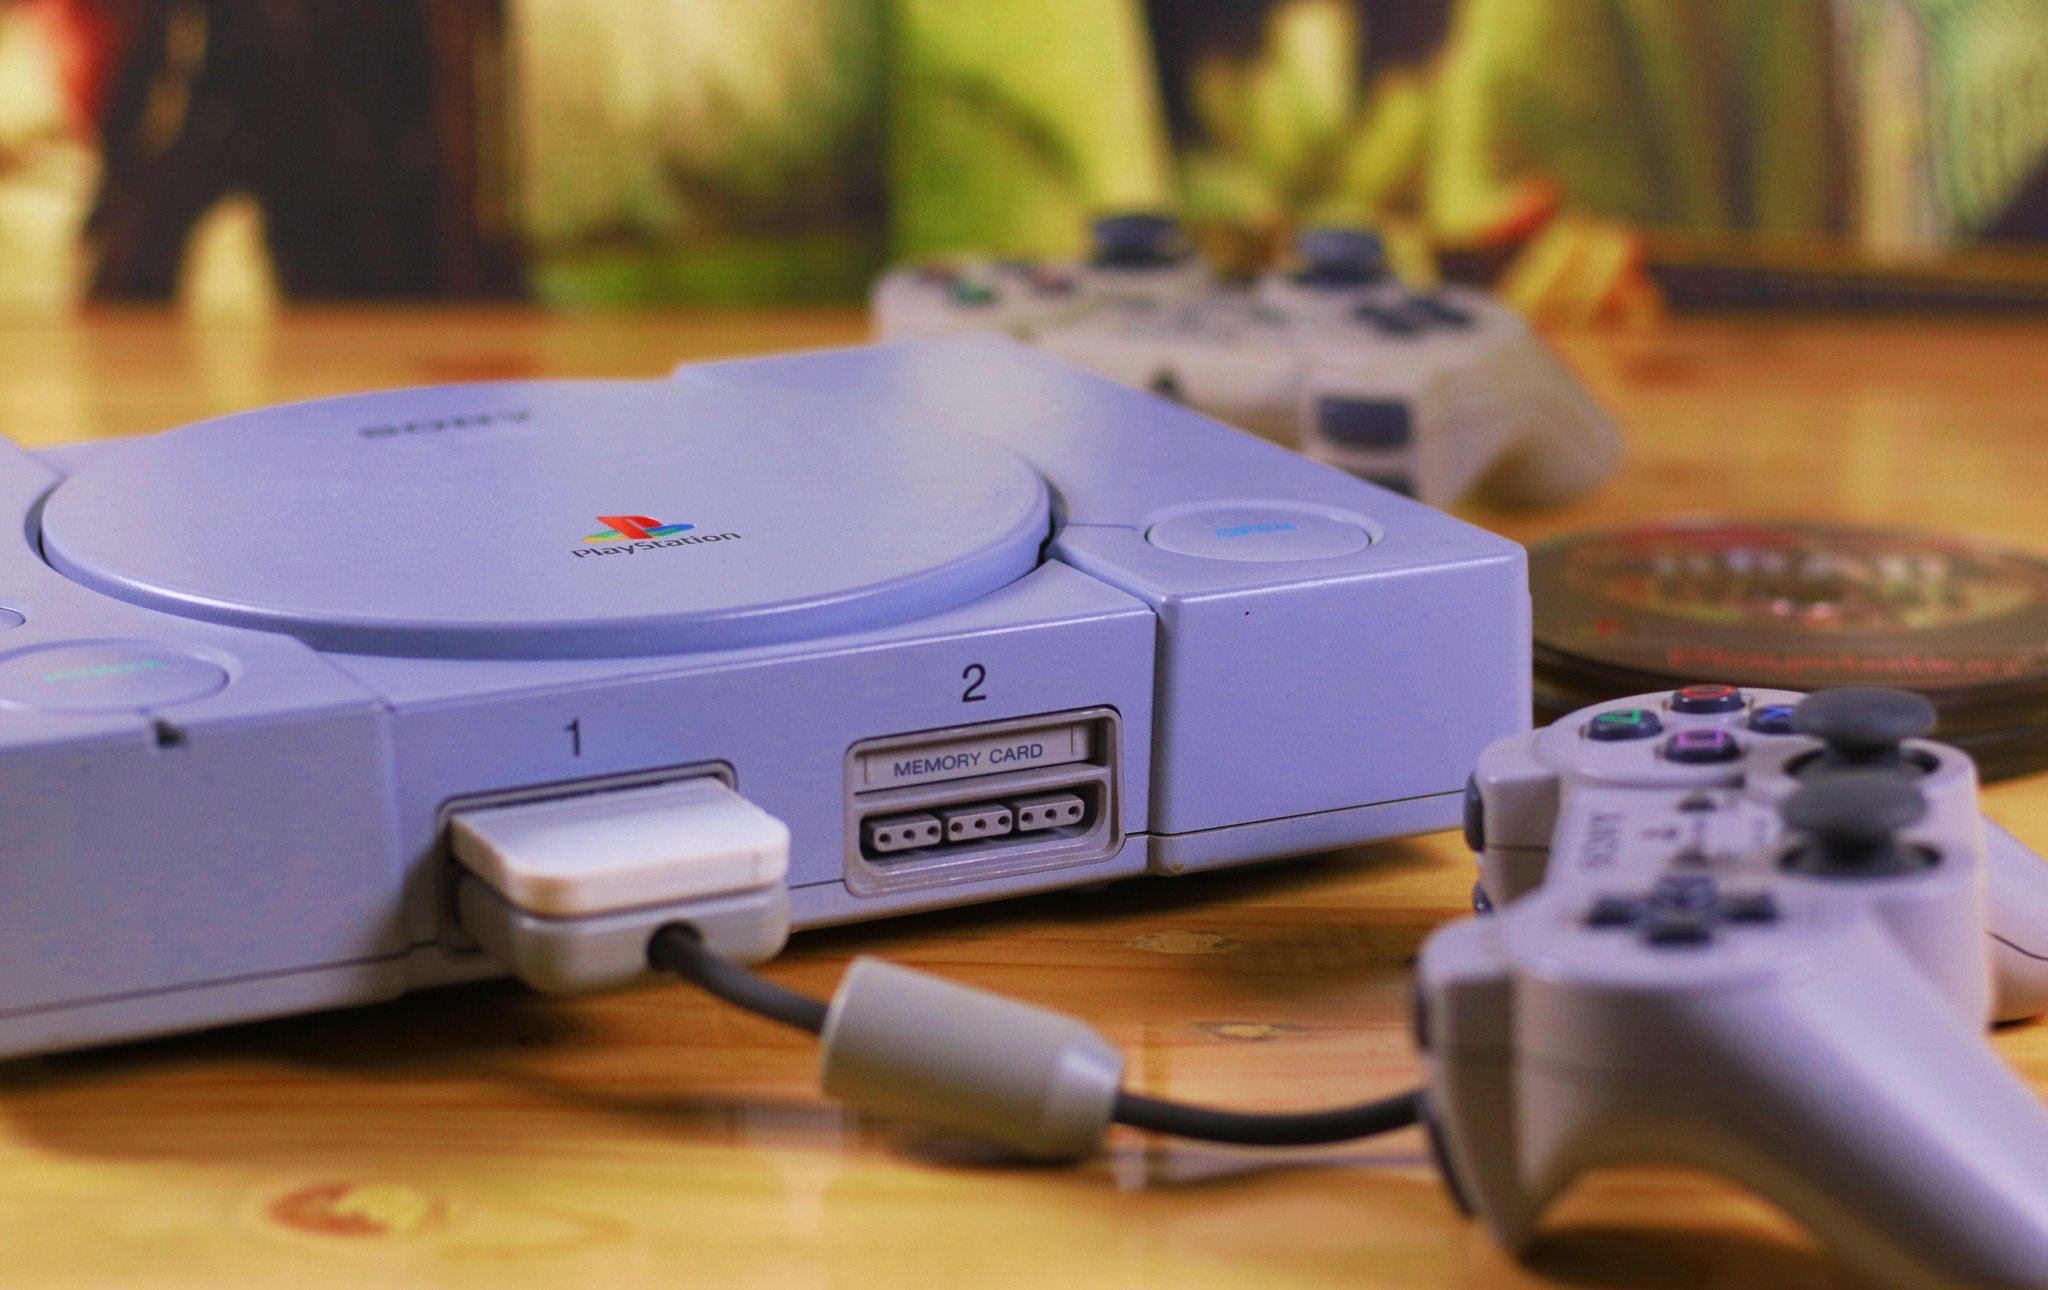
With the PlayStation Classic available for pre-order, a lot of people are excited to have some of their favorite games at their fingertips again.
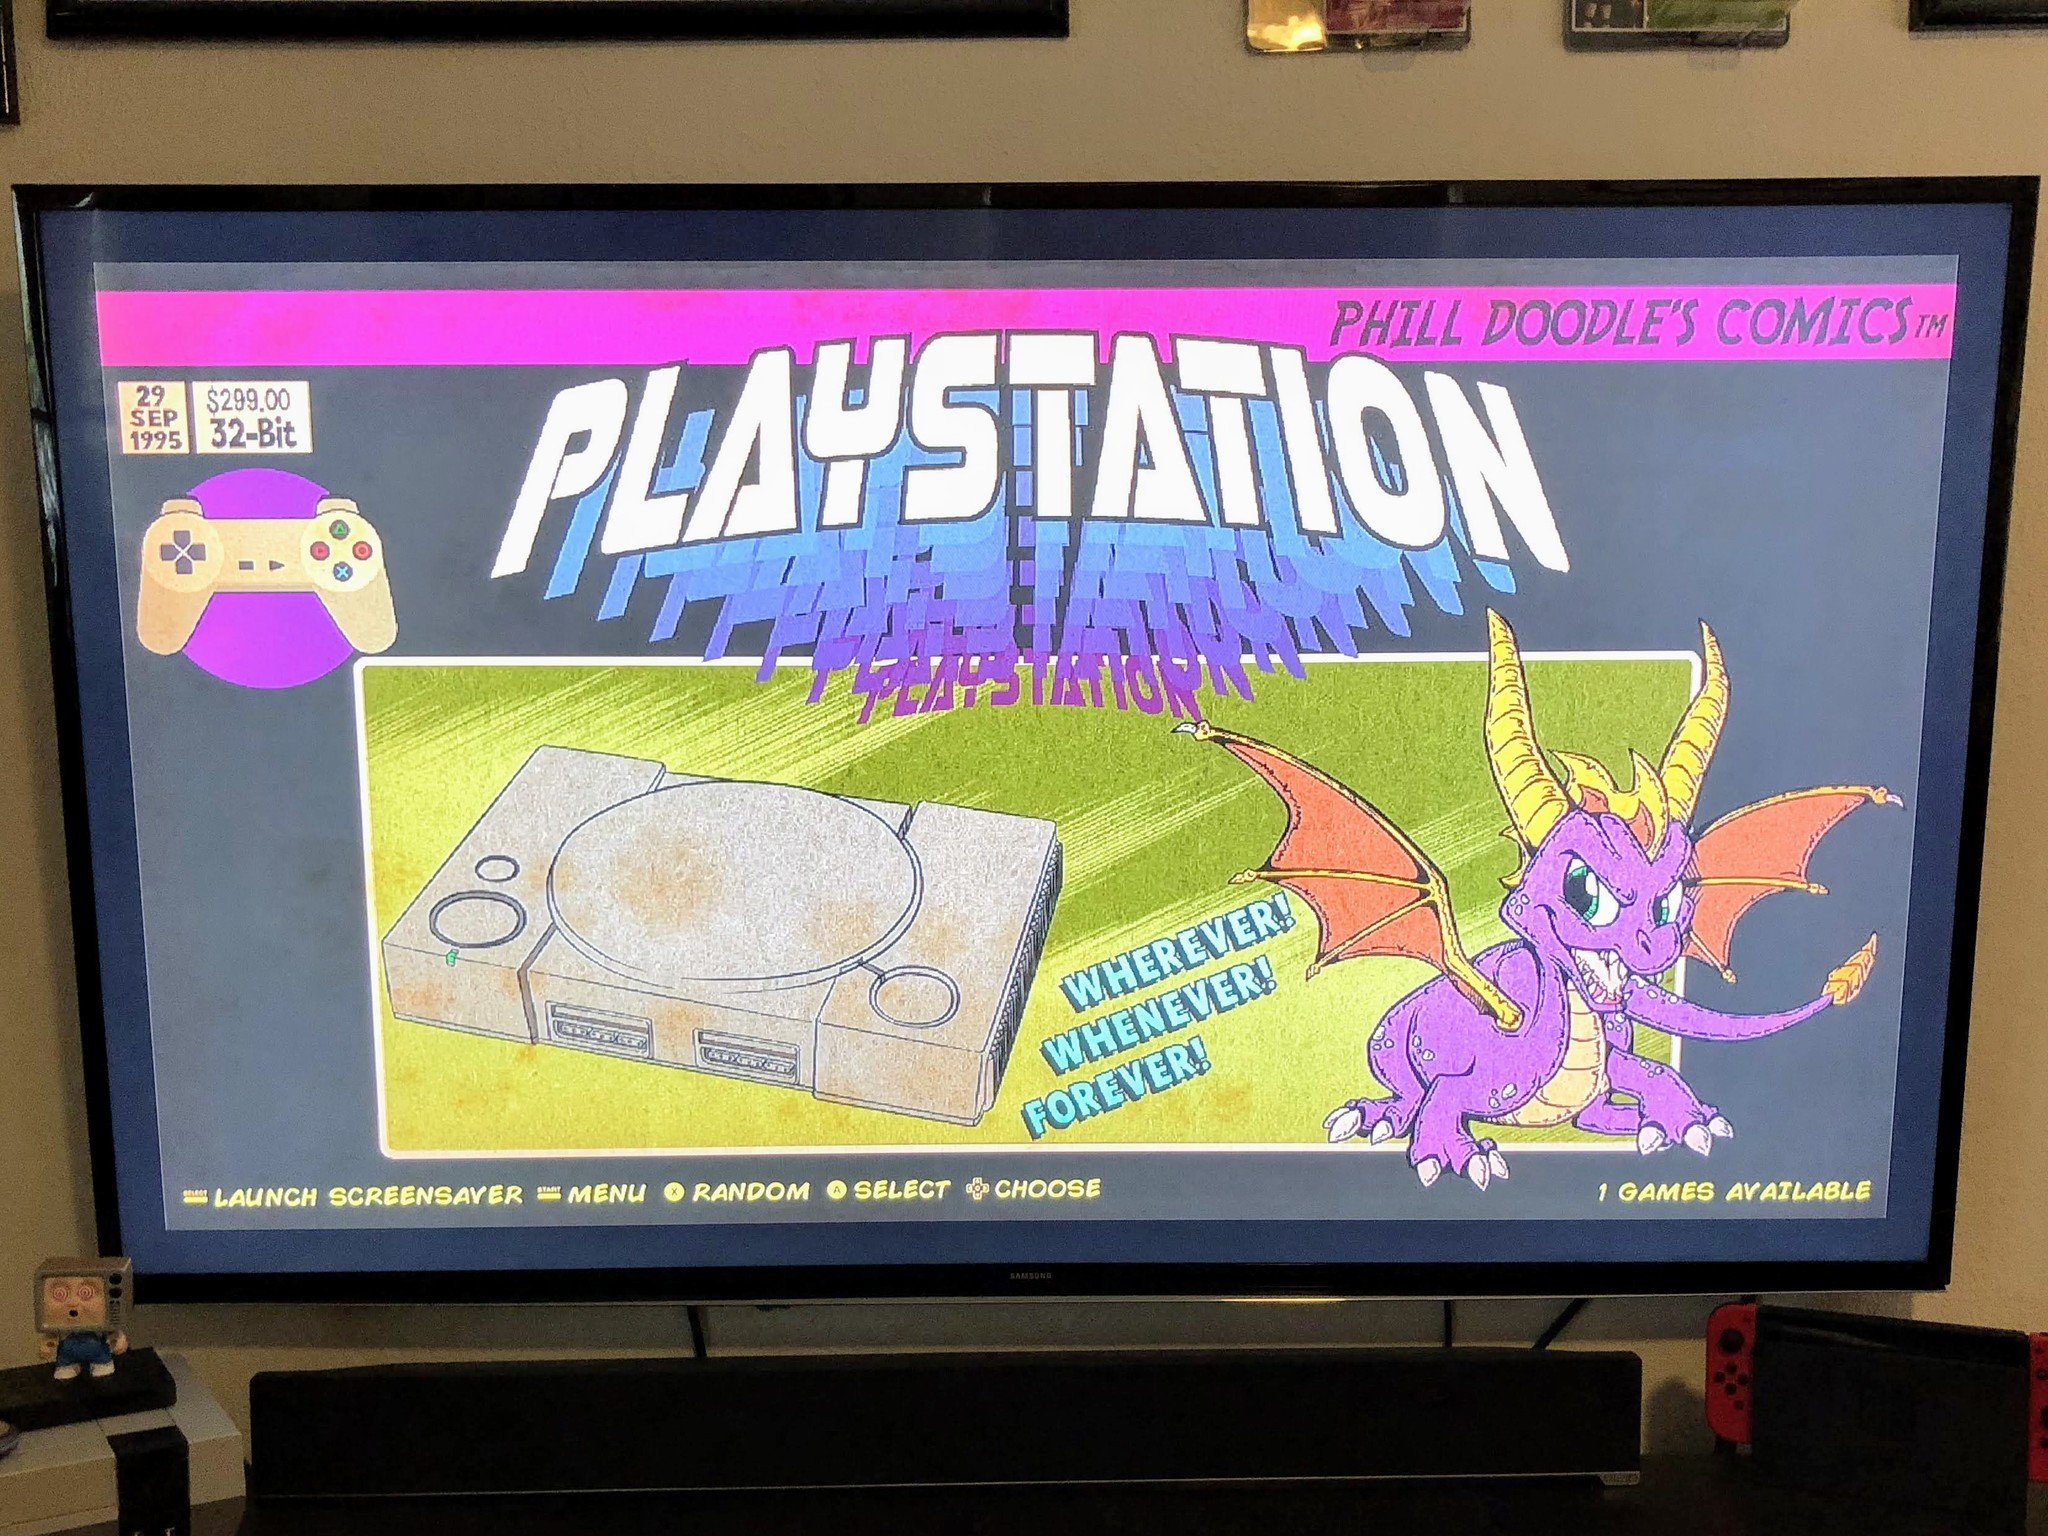
But what if told you there was a way to have not just 20 of your favorites but all of them from both the PlayStation 1 and 2? Well, by using a Raspberry Pi microcomputer and few other bits and pieces, we can get you playing retro games in just a few minutes.
The following article hopes to help guide you down the path to your first Raspberry Pi retro emulation system.
- On your computer: Setting up the image on the SD card
- On the Raspberry Pi: Initial setup for your RetroPie
- On the Raspberry Pi: Setting up your Wi-Fi connection
- Adding the games
- On the Raspberry Pi: Enabling RetroPie Manager
- On your computer: Moving the ROMs
Note: There are a myriad of ways to get your system up and running. This is simply the method that's most reliable and repeatedly works for me.
What you need
-
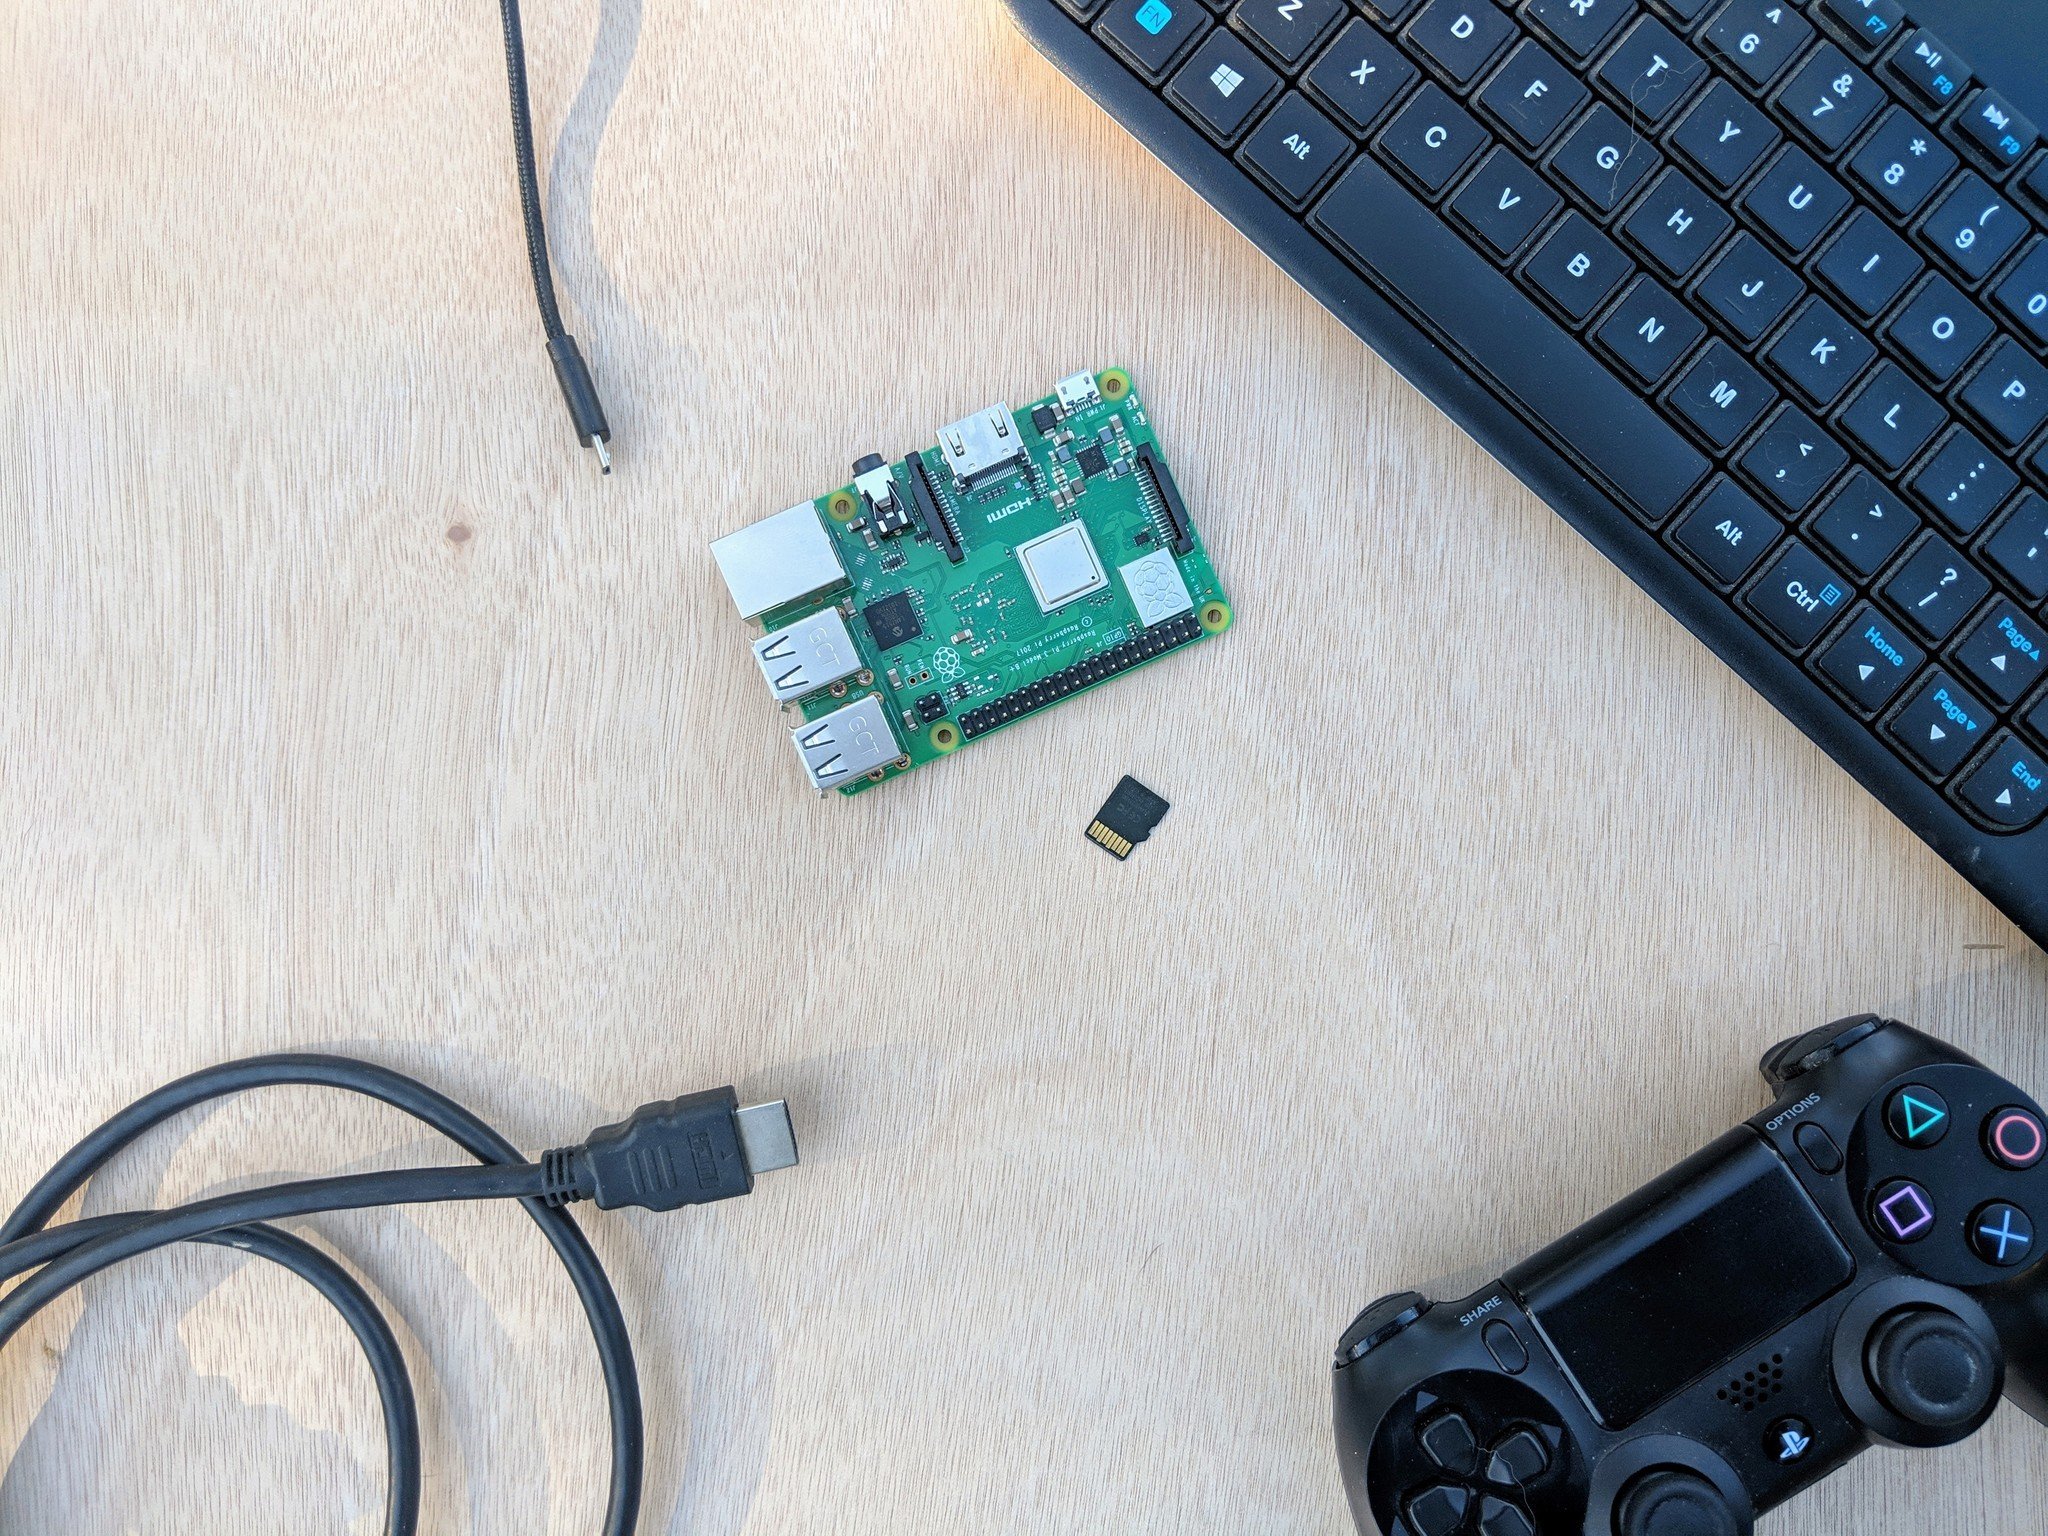
A Raspberry Pi: Either the Raspberry Pi 2-B or the Raspberry Pi 3-B.. The biggest difference between the two is that the 3-B has built-in Wi-Fi and the 2-B does not.
-
A Micro SD card: I use a Samsung 128GB EVO Select which affords me all the space I need. If you order from Amazon, it's suggested that you choose an SD which is listed as "Ships from and sold by Amazon.com" to avoid inferior counterfeit cards.
-
A Micro-USB power supply to power your Raspberry Pi. You can even pick one up with a built-in power button for easy on and off.
-
An HDMI cable to hook up to your TV or monitor.
-
A USB Keyboard for use during setup.
-
A USB game controller: You don't have to, but it just doesn't feel real unless you have the right controller. The official Sixaxis controller works great, but if you don't own one or want something a little cheaper, try this one
-
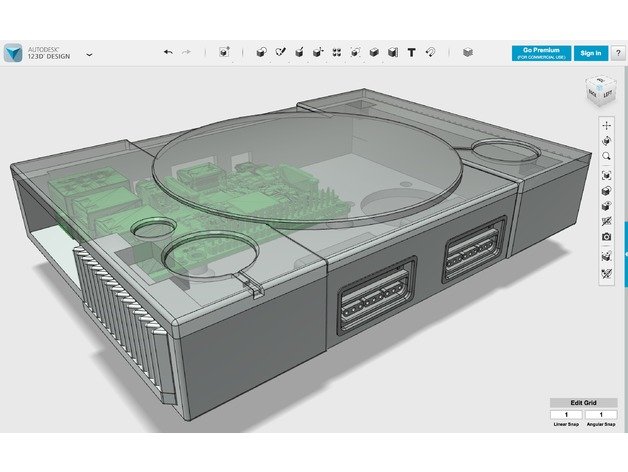
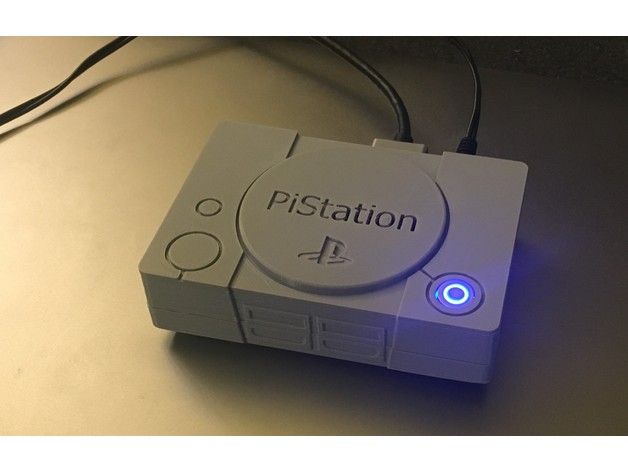
A case to house your Raspberry Pi: This isn't completely needed, but if you access to a 3D printer, you can print up some amazing looking original PlayStation Pi cases. There are two that I like the look of and will be printing out to try. This one by The_Craft_Dude is a very realistic shape whereas this one by samhazel is designed to fit the Pi securely and even has room for an led power button!
On your computer: Setting up the image on the SD card
- Go to https://retropie.org.uk/download/ and download the "Raspberry Pi 2/3" image. Make sure to remember where you save it!
-
Go to https://etcher.io/ and download the correct version for your system, then install. I prefer Etcher for its simple interface and compatibility with Windows, Mac, and Linux.
- Open up Etcher and click Select image.
-
Navigate to where you saved your RetroPie image and select it.
- Next click Select drive.
-
Choose your SD card (Make sure you select the correct drive letter. You don't want to write your OS drive with an image of Retropie!) Then click continue.
-
Click the flash button.
It will take a few moments but once it's done writing you will have an SD card that's ready to roll!
On the Raspberry Pi: Initial setup for your RetroPie
- Insert your newly flashed micro SD card into your Raspberry Pi.
- Connect the network cable to your Raspberry Pi.
- Plug an HDMI cable to your Raspberry Pi and then to a TV or monitor.
- Plug your USB controller into your Raspberry Pi.
-
Finally, plug your Micro-USB power supply into a wall outlet and to your Raspberry Pi. Your Raspberry by will now begin its first boot.
-
Follow the on-screen instructions to configure your USB controller.
On the Raspberry Pi: Setting up your Wi-Fi connection
If you are not going to hardwire your system to the internet, now is the time to set up your Wi-Fi. You are going to need a USB keyboard to do that so go ahead and plug your keyboard into your Raspberry Pi.
- Navigate to the Retro Pie configuration page.
-
Scroll all the way down to the bottom and select the Wi-Fi option.
- Next select Connect to Wi-Fi Network.
-
Now select the network you wish to connect to.
- You will then be prompted to enter your Wi-Fi password. This is where you will need that USB keyboard.
-
Once you have connected to your network, be sure to take note of your IP address.
Adding the games
Your new Raspberry Pi/RetroPie system comes with all the emulators you could need pre-installed. Emulators use things called ROMs in order to boot and play games. Think of ROMs as the modern-day equivalent of a game cartridge. No cartridge, no games, so you are going to have to load up your system with all the ROMs you want to play. Now, I can't tell you exactly where to pick up ROMs but if you have at least marginal google-fu skills, you should have no problem finding a resource that'll fulfill all your needs.
There are a few different methods of moving ROMs onto your system. My favorite method is to use RetroPie Manager. It allows you to move ROMs from the computer you downloaded them with directly onto to your Raspberry Pi using your computer's browser.
On the Raspberry Pi: Enabling RetroPie Manager
The first thing you are going to need to do is to enable RetroPie Manager on your Raspberry Pi.
- Navigate to your settings menu on your Raspberry Pi and select Retropie Setup.
-
Select Manage Packages.
- Select Manage experimental packages.
-
Scroll almost to the bottom and select Retropie manager.
-
Select Install from source. Your system will now run a script which will download and install Retropie manager for you.
- Once it has completed select Configuration/Options.
-
Select Enable Retropie Manager on boot.
-
Finally, reboot your system.
Back on your computer: Moving the ROMs
The computer you are going to be using needs to have all your ROMs and it needs to be on the same network as your Raspberry Pi.
- Open the internet browser of your choice. In the address bar, enter the IP address of the Raspberry Pi which you noted earlier followed by ":8000". The address should look something like; 192.168.X.XXX:8000. This will take you to the RetroPie Manager page. There is all sorts of interesting and helpful data here, but for now, all you need to do is…
-
Click on Manage Rom files for emulated systems.
- Here you will find all the emulated systems on your Raspberry Pi. Select the system you would like to add ROMs for and click on it.
-
Now all you have to do is drag and drop your ROMs into this window. Easy Breezy!
-
Once you have all your ROMs loaded onto your system, give your Raspberry Pi a reboot and you're all ready for a retro gaming party to beat the band.
Any questions?
Let us know in the comments below!
from Android Central - Android Forums, News, Reviews, Help and Android Wallpapers https://ift.tt/2zfIK1q
via IFTTT


No comments:
Post a Comment