Clever hacks to minimize the amount of light coming in.
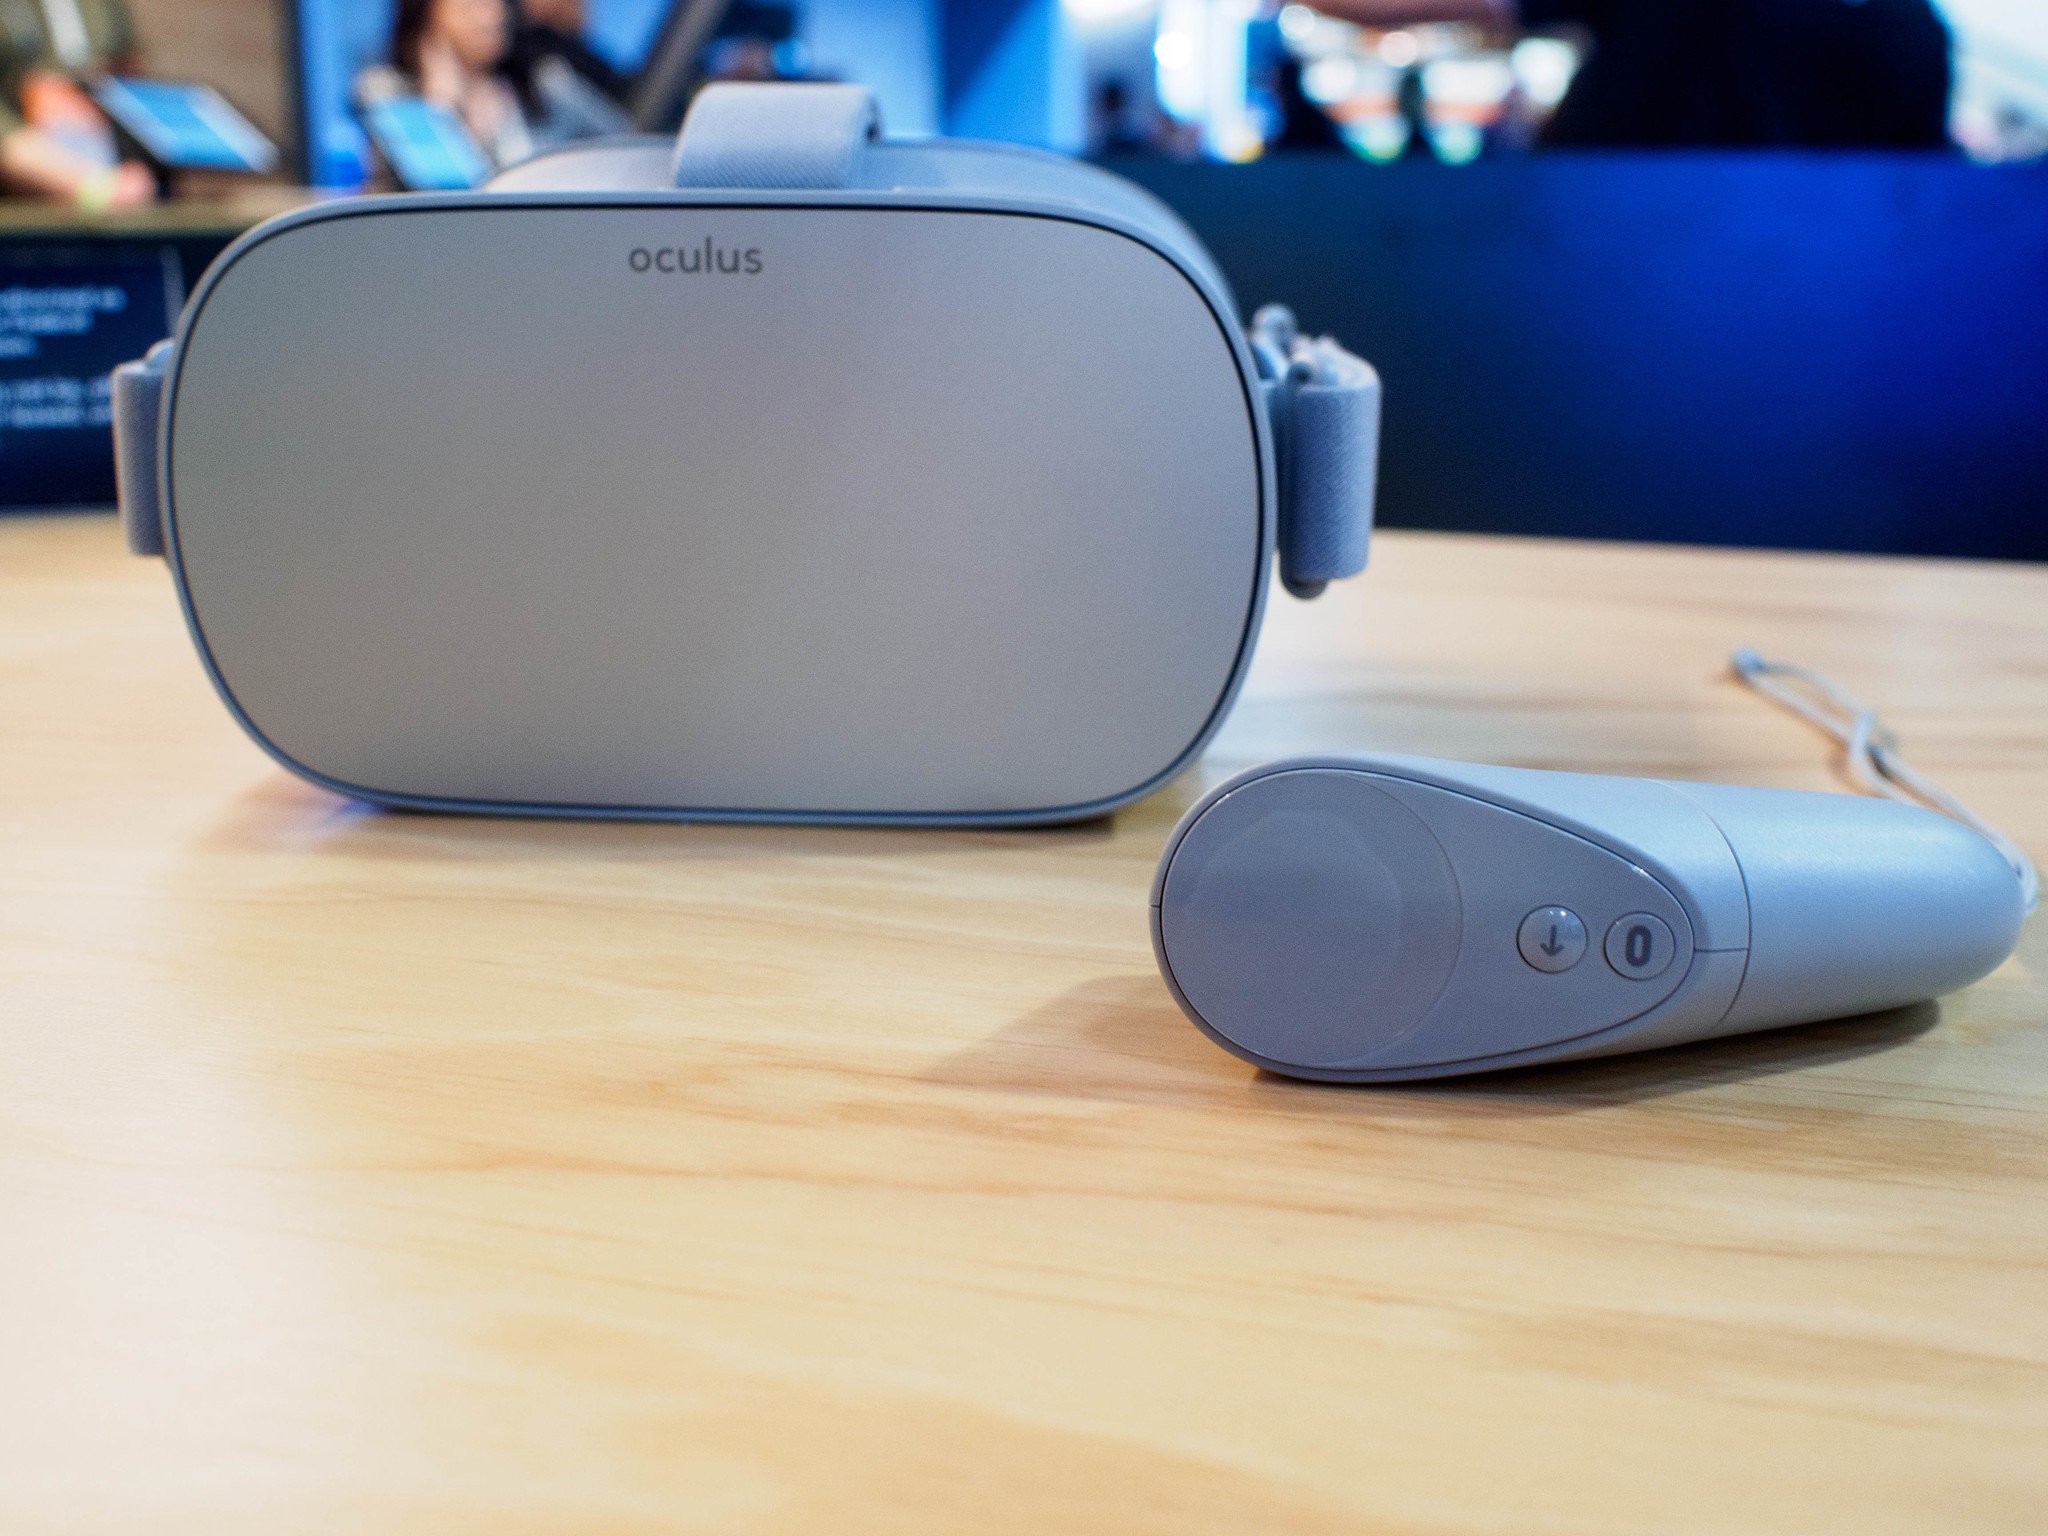
The Oculus go was designed with spacial awareness in mind. Oculus made sure its device had just enough of a gap near your nose to be able to check a phone or crane your neck to see your surroundings. But what about those of us who have pretty good spacial awareness, or we know the area around us is safe and we'd rather have the immersion? I just wind up sitting there, trying to get my scare on with some good horror games and instead I can't fully immerse myself because I can still see my cat trying to bite my toes.
I hate the large gap on the Oculus Go. So I spent a decent amount of time coming up with a few options to get rid of that gap — and I'm still looking for better ones. If you try any of these out and they work for you, or you think of something better, let me know in the comment section below.
Let's use our brains together to come up with a solution!
Using the Fitted Interface
If you're experiencing a whole lot of light bleed the issue might be less on design and more on the headset not fitting your face. That's OK though, there is a different fitted interface on the Oculus Store that is available for your purchase. Thankfully, this accessory is pretty affordable at only $20, and its crafted with the same foam that comes standard on the Oculus Go. This interface is made differently to accommodate lower nose bridges and higher cheekbones.
So, before jumping into any DYIs or giving up on your headset, try getting yourself a different interface and see if it helps.
MacGyver it
Feel free to harness your inner Macgyver. I actually got most of the materials for this project from the bottom of my closet. Repurposing old items is definitely a solid option if they're sanitary, but of course all of these options are available for you to buy brand new as well. This option won't eliminate the bleeding light entirely, but it will dwindle it down to such a small sliver it's downright unnoticeable when your brain's distracted playing games.
I'm going to break these steps down into sections with pictures to help out. It may seem like a lot of steps, but I promise this whole process took me 20 minutes to complete.
For everything you will need
- A thin belt
- A regular needle and a leather needle
- A pair of pliers
- Thread
- Scissors
- Two thin fabric or an old t-shirt (that's clean). The first one will need to be 6x3 inches, the second will need to be 6x6 inches
First thing's first, the belt is going to be too long. You'll need to fit it to go around your Oculus Go headset and safely use your scissors to create new puncture holes for the buckle. This process can be made easier if you have a nail and a hammer.
To create holes this way, lay the belt down on a safe surface (like concrete or a crafting table). Place the nail over the spot you want the new puncture hole to be and hammer down on the nail until it creates a new hole. Feel free to make two to three of these holes just in case.
Creating the protection for your device from the metal of the belt buckle
The first thing I was concerned about when I came up with this idea was the metal of the belt buckle scratching my headset. Whenever I thought about taking the belt off or putting it on, I got a bit of anxiety thinking about it dragging across the plastic. So I found a good solution to this. For this part of the project, you will need your scissors, the 6x3 piece of fabric, both of your needles, a pair of pliers, your thread and your belt buckle.
If you're concerned about appearance, you can always trade out the regular hand stitching with any kind of sewing machine. I personally didn't care about the organization of my lines since this solution was for me and, hey, I was never going to see it when I have the headset on!
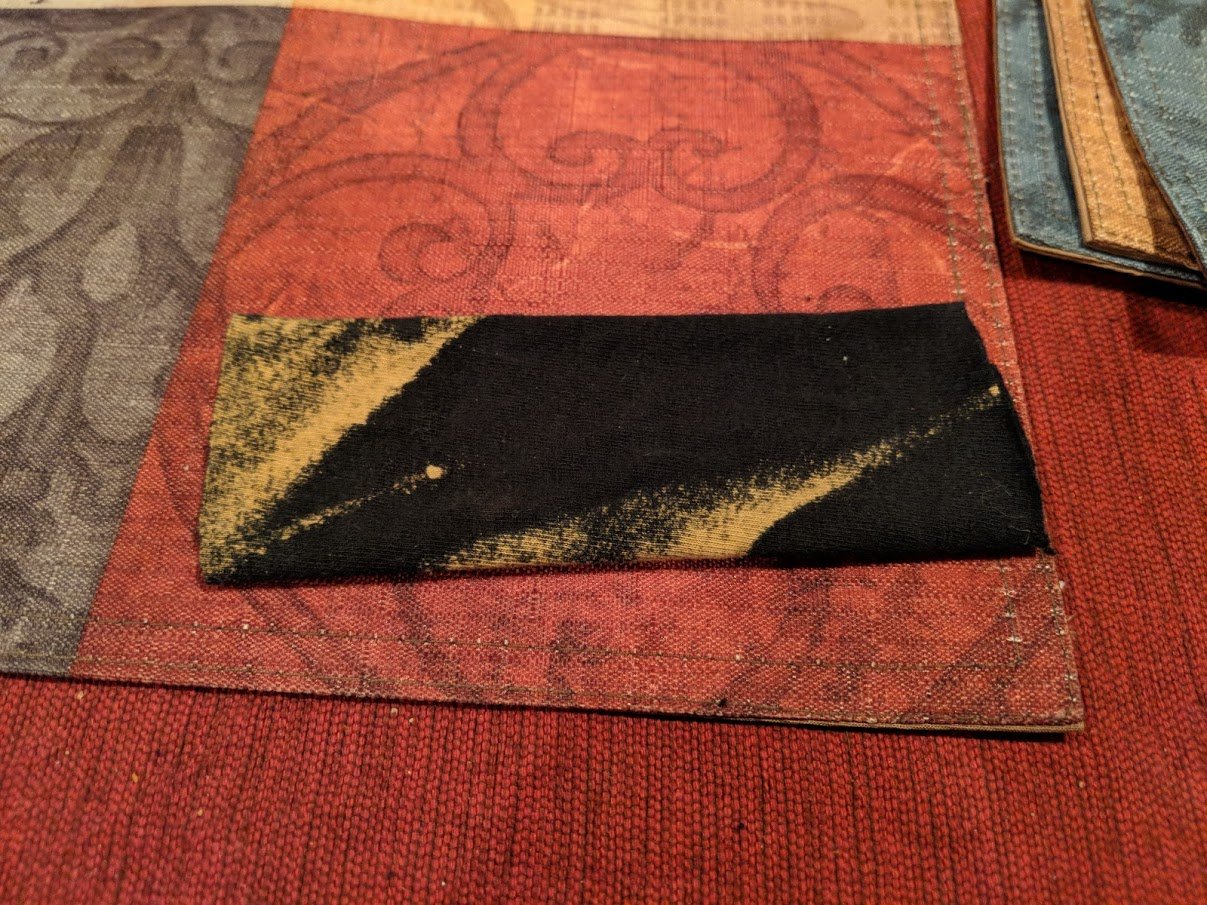
- Take your 6x3 piece of fabric and fold it in half. It should now be 1.5x6 inches.
- Stitch the three edges that aren't a fold. Cut the excess string.
- Fold the fabric in half the other way. It should now be 1.5x3 inches.
- Stitch the three edges that aren't a fold again. Cut the excess string.
- Line the fabric up under the belt buckle so that the center of it is directly covering the buckle.
- Stitch a horizontal line on the strap that has the buckle attached. (You will need your leather needle and pliers for this part!)
Prepare the light blocker now
Looking at the bottom of your Oculus Go headset you can see just how deep the nose ridge goes. The next part of this craft is to create a piece of fabric to hold the belt in place while you play. The fabric dimensions I selected are big enough to cover down to the line of the eye lenses (where my finger is pointing to in the picture). If you find you need more or less fabric, you want to cut your next piece smaller in the vertical dimension but not both. Regardless of length, you need for the shape of your face the width will always need to start at 6 inches to match the width of the Oculus Go.
Here's a finished image of the fabric that will cover your nose area and serve as a light blocker. This way you have a visual of what we're going to be finishing with before we start.
You will need
- Regular needle
- Thread
- 6x6 thin fabric
- Scissors
- Fold your 6x6 fabric in half to create a 3x6 inch fabric.
- Sew all edges that aren't the fold. Cut the excess string.
That's it! You've created your light blocking fabric. Now onto how to get this baby on your headset. Do not stitch the fabric blocking the light to the belt. You want this fabric to only be held in place by the belt.
If you stitch it on the process of cleaning it will become that much harder. By not attaching it you can remove the fabric and either clean it by hand or make a new one entirely when it comes time for a change.
Attaching your new light blocker
As you can see from the image, using a thin belt will not inhibit your ability to plug in your device's charger or headphones. Not just that, but from the pictures shown above it will only slightly cover the buttons on the top. But, the only part that should be covering the buttons on the top is the fabric not the belt. This means you shouldn't be at any risk of your buttons being pressed during gameplay.
Regardless, make sure you don't buckle in too tight!
- Turn your Oculus Go upside down
- Place the 3x6 inch fabric over the nose area.
- Flip the Oculus Go over and buckle up
- Flip it back to the other side once more and raise the flap of the fabric (pictured above).
- Put your headset on and start it as normal.
- Adjust as needed.
Like I mentioned earlier, this trick won't get rid of your lightbar entirely. This is largely due to the fact that if you covered your nose entirely with the fabric you'd then be dealing with a massive amount of fog on your lenses. Instead, you want to minimalize the light bar as much as possible while still giving yourself breathing room while you play.
Thoughts?
Did you try out any of these methods? Have you tried something else that worked better for you? Stay tuned for this article, next I'm working on ideas for a potential 3D-printed piece to solve the problem and not look janky. If it works out I'll post the how-to here as well. Tell me your thoughts in the comment section below, thanks!
from Android Central - Android Forums, News, Reviews, Help and Android Wallpapers https://ift.tt/2t0xX80
via IFTTT


No comments:
Post a Comment