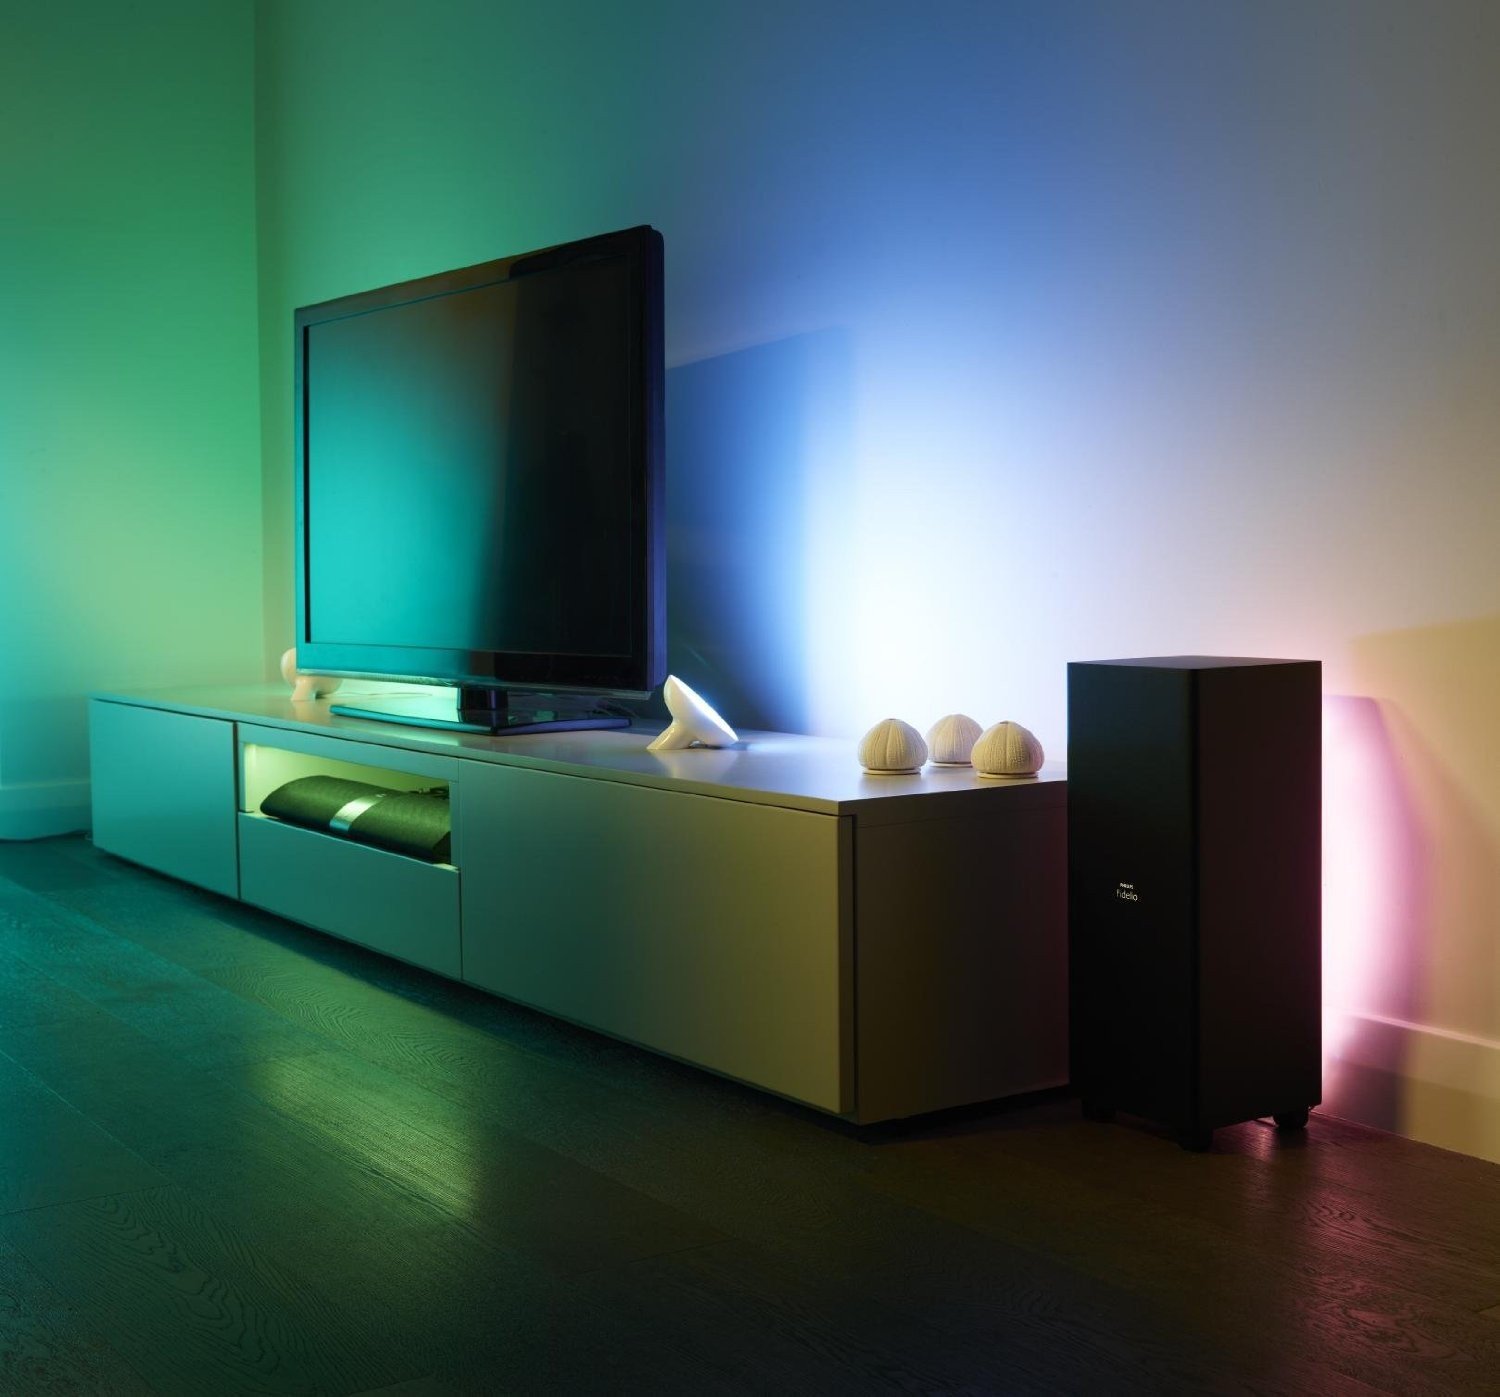
Take control of your lights, and add a little personal style while you are at it.
Out of the box, it couldn't be easier to set up Philips Hue bulbs. You pick a room to label them, and instantly gain the ability to control them either all at once or one at a time depending on your needs. This control mechanism offers you a lot of flexibility, but somewhat less creative control.
For those of us with a desire to have the bulbs in our rooms be different colors depending on the time of day or our mood, the Hue app has scenes. This feature lets you create a preset of color, temperature, and brightness settings per bulb which can be activated as a group. It's nice when you have a specific style in mind when a movie is playing, or at the end of the day when you'd prefer the lights be a little lower for entertaining.
Here's how to set scenes up in your Hue app!
Creating a new Hue Scene
- Open the Hue app on your phone and select New scene from the top left.
- Choose the room you want to set this scene up in.
- Tap the top color bar to name the scene.
Once you reach this part of the process, you have two options available to you. The color dial in the center of the screen will let you drag your lights to whatever color you want, and you will see your lights change to that color. You can set up your scene manually by positioning your lights on whatever part of this disc you want, and using the top bar to adjust the brightness of the lights as you adjust the scene.
You can also tap the camera button and use a photo to create a scene. Photo scenes allow you to use whatever photo you want to create a scene, and the app will choose a color palette based on the colors in the photo.
Philips includes a selection of photos in the app for you to use to get started, but the ultimate goal here is for you to be able to use a great photo you have taken as a color palette for a scene. Once you have chosen a photo, you drag the light bulbs or light strips to the right place on the disc, just like the other scene mode.
Tap the check mark in the top right of the app when you have finished designing your scene, and you're all done! This new scene will be added to the list of default scenes Philips includes with the app, so you can create as many of these scenes as you like.
Removing a Hue Scene
Philips doesn't have a limit on how many scenes you can have on your phone, but it does have a limit on how many you can see on the screen at once. If you're not a fan of the Hue scenes included with the app by default, or you want to get rid of a scene you have created, you can delete it quickly right from the app.
- Open the Hue app and select a room.
- Tap on the scene button (it looks like a paint palette).
- Tap on the scene you want to change.
- Tap on the edit button in the top right corner of that scene.
- Tap Delete, and confirm you want to delete the scene.
What's your scene?
How do you like the new Hue 3.0 app for Android? Let us know in the comments below!
from Android Central - Android Forums, News, Reviews, Help and Android Wallpapers https://ift.tt/2MrmzLj
via IFTTT


No comments:
Post a Comment